How to Make Dusting Beautiful
Timeless Tips from Homemakers of the Past is an ongoing series highlighting useful and thought provoking tidbits from the generations of homemakers who have gone before us. Our goal at Sheep Among Wolves is to provide a forum for Good and Great literature, and to help you in your quest for godly, high-quality resources. It is our hope that these Timeless Tips will be an aid and encouragement to you as you strive to follow the example of Titus 2, and become a keeper of the home. Have you ever asked a friend where she keeps her dust cloths?
To be perfectly honest, I haven’t either. I’d want a pretty good reason to do it, because I’m afraid that kind of question would sound a little bit nosy!
I’ve never asked anyone, and no one has ever asked me. Which was a relief, up until last week, because the answer would have been an awkward one.
The truth of the matter is, for the past year and a half, I’ve kept my dust cloth in a desk drawer. Yes, really, an ordinary desk drawer! Along with my wooden ruler, and a package of ballpoint pens, and an attempt at a homemade Jacob’s Ladder, and a dozen other things that didn’t have any better home.
Why I Had a Duster in My Desk Drawer
A year and a half ago, I implemented a new cleaning schedule. Every evening, just before dinner, I do one cleaning task in my bedroom. After eighteen months, I can definitely say it’s been a successful experiment. One little task is so much less intimidating than setting out to clean the whole room in a single blow. The only disadvantage was to my dusting cloth. It didn’t need to be washed every day. But it couldn’t really go back in the linen closet after it had been used.
So it just ended up in my desk drawer. At least it was on hand when I wanted it.
Today’s Timeless Tip from Homemakers of the Past is the tip which got my duster out of the drawer, and into a perfect little storage place of its own—a storage place which is a motivation, instead of a discouragement, when it’s time to dust. So here are three points from Housekeeping for Little Girls by Olive Hyde Foster to help you make dusting more than a boring routine task—three tips for making dusting beautiful!
 1) Choose Supplies That Are a Joy to Use
The tools we work with influence the quality of our work. A little bit of time wisely invested in choosing good supplies will pay off for a long time to come. Not that good supplies need to be complicated, or expensive. Olive Hyde Foster suggests:
“Cheese-cloth is about the very best thing you can get for dusting fine furniture. In piano ware-rooms it is used almost exclusively for polishing expensive rosewood and mahogany, and it never scratches. A few yards to be cut and hemmed for dusters will cost but ten or fifteen cents [in 1912], yet will last for months.”
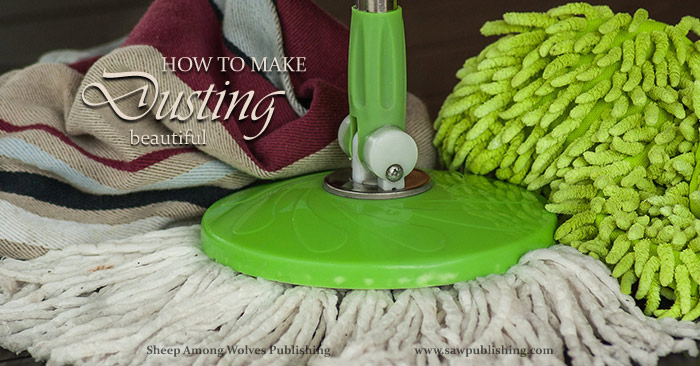
I don’t personally use cheesecloth for dusting. I have used various forms of dusters, washcloths, and even rags over the years. I still see the benefits of being able to recycle old clothing in this last way, although my current dusters are microfibre cloths picked up at the dollar store. They are sturdy, work efficiently, and, as a bonus, come in pleasant colours.
Not that beautiful dusting depends on fancy equipment. (I bought the dust cloths at the dollar store, after all!) But every kind of work is helped by thoughtful equipment. If I were still using rags—and soft old rags can be good tools all by themselves—I think I would consider cutting them out with pinking shears, instead of ordinary scissors. Pinking shears leave a zigzagged edge, that both keeps the fabric from fraying and adds a little touch of beauty to a commonplace object.
2) Keep Your Supplies Near Your Work
“In the living-room, where you may wish to dust twice a day, have one of these pieces [the cheesecloth dusters] hang in some convenient place, in a pretty little bag made of some old scrap of silk. It will save a lot of trouble.”
Dust twice a day! I hear you exclaiming, I barely get time to dust once a week! In truth, Olive Hyde Foster’s second tip holds true no matter how frequently, or infrequently, you clean.
In an ideal world, storing your cleaning supplies in the basement, or in the garage, or in an upstairs closet, doesn’t mean the difference between dusting and not dusting. In practical daily life, it sometimes does. If we are going to make dusting beautiful, we need to give ourselves all the advantages in our power.
One of those advantages is storing our supplies in an easily accessible place. This was the big benefit to keeping my dust cloth in the desk drawer. When supplies are close at hand, we are much more likely to use them.
Regrettably, dust cloths are not the most decorative items on the planet. I didn’t want mine—even when it was nicely folded, with the dusty side in—sitting out in full view in my bedroom. This is just where our next point comes in.
3) Take Time to Make Your Storage Place Beautiful
Olive Hyde Foster suggested making a small silk bag, to provide an attractive storing place for the dust cloth. It’s surprising how much a little touch of beauty does. A dust cloth which would look downright unsightly by itself becomes something pleasant and even inviting when furnished with a pretty holder.
To return to the dust cloth in my desk . . . or rather, the dust cloth that was now trying not to be in my desk: I liked the idea of a little silk bag, but I didn’t really have the time to sew one from scratch. I couldn’t think of any pre-made bags in my house that would work. I finally decided to utilize a cylindrical cookie tin—and the result was surprisingly good.
If you want to make a similar dust cloth holder
you’ll need:
- an empty cookie tin
- decorative paper (fabric would work well, too)
- stickers (optional)
- scissors
- glue
Cut out a large rectangle to cover the body of the tin, a small circle for the top of the lid, and a long narrow strip to go around the edge of the lid. I left the bottom of my cookie tin plain, since in was just unpainted metal anyway, but you could cut out another circle to cover it if you wanted to. Glue each of the pieces in place, decorate with stickers if desired, and your dust cloth holder is complete.
The whole project took maybe half an hour, probably a little less. The result was exactly what I was looking for—a storage place that encourages me to dust!
Making Dusting Beautiful
You are now welcome to ask me where I keep my dust cloth! Olive Hyde Foster’s advice has made my dusting a lot more beautiful than it was before. But at the end of the day, the choice still rests with me. “Beauty is in the eye of the beholder.” If I want dusting to be truly beautiful, I need to open my eyes to see it that way.
I don’t have to enjoy lifting knick-knacks off shelves, squeezing under desks, or straining to push my dust cloth between the bed frame and the wall. Those are not the things that make dusting beautiful.
I don’t even have to love the prettily-pinked rag, or the convenient storage place, or the renovated cookie-tin cloth-holder. Those things can help to make dusting beautiful, but even they aren’t the essentials.
Dusting is beautiful because it is part of the work God has called me to as a woman. It is a part—a very humble, unglamorous part, I grant you, but still a part—of the noble task of homemaking.
Dusting is already beautiful. We just need to open our eyes to see it.

Does an organized home seem unrealistic? overwhelming? impossible? This Timeless Tip offers the secret of attaining organized records by small steps.
You might also enjoy:

The parallel between the demise of the poplar field and Cowper’s own mortality strikes a chord in each of our hearts.

Wondering about that unusual phrase in your favourite hymn? Analyzing hymn allusions reveals a wealth of Biblical truth woven into religious poetry.

