
How To Sew on a Button with the Help of a Pin – Timeless Tip #4
Timeless Tips from Homemakers of the Past is an ongoing series highlighting useful and thought provoking tidbits from the generations of homemakers who have gone before us. Our goal at Sheep Among Wolves is to provide a forum for Good and Great literature, and to help you in your quest for godly, high-quality resources. It is our hope that these Timeless Tips will be an aid and encouragement to you as you strive to follow the example of Titus 2, and become a keeper of the home.
Have you ever noticed whether your buttons wiggle? Take a look at one right now. Does it tip back and forth if you rock it with your finger?
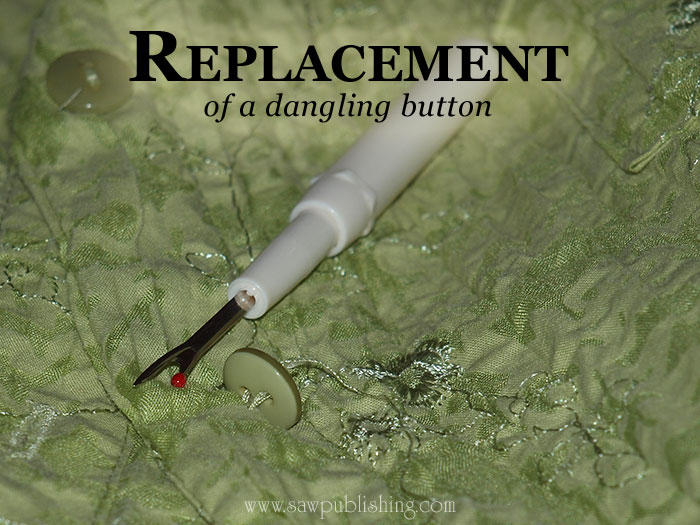
I used to imagine that a wiggly button was a sign that the button was going to fall off. And certainly, a button that is hanging by one thread and dangles instead of wiggling, probably needs some attention.
But a 1901 sewing course proves that most wiggly buttons are wiggly for a reason.
How To Sew a Button
When my buttons used to come off, I always sewed them on strongly. Very strongly. I figured if they had come off once, they probably needed all the help they could get. I did sometimes notice that when I was finished, my button was sort of stiff. It couldn’t wiggle back and forth like the other buttons. But if it was pinned down so tightly it couldn’t move, I imagined that probably meant it wasn’t coming off in a hurry.
What I didn’t realize was that the other buttons were loose on purpose.
Today’s Timeless Tip is taken from Hand Sewing Lessons: A Graded Course for Schools and for the Home by Sarah Ewell Krolik.
I was originally introduced to this button technique in A Manual of Home Making by Martha Van Rensselaer, et al. We’ve quoted this source in some previous Timeless Tips, and Sarah Krolik’s explanation is a bit clearer, so I decided to use the Hand Sewing Lessons instructions instead.
What You’ll Need
- needle and thread
- straight pin
- button
- the garment that needs a button
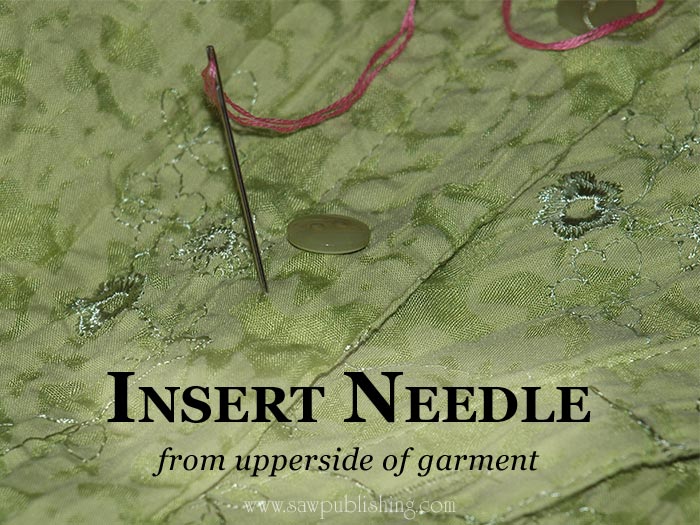
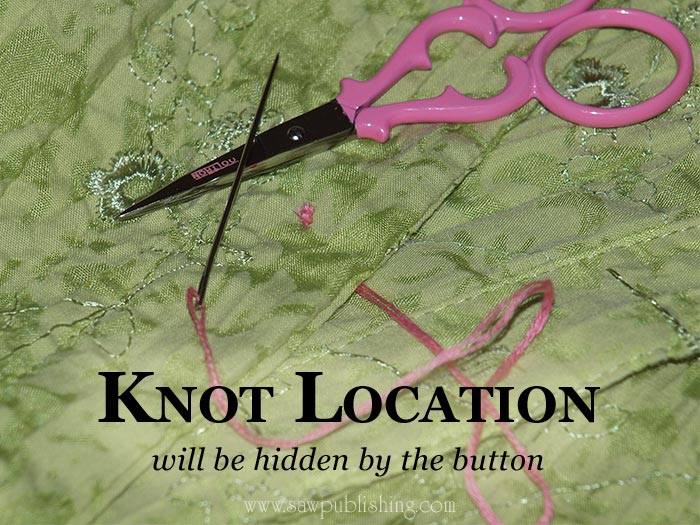
Step One: Take Your First Stitch Without The Button
“Knot the ends of a double thread, and put the needle through the cloth from the upper side to hide the knot under the button.”
This knot should be at exactly the same place you want the button to be once it is sewed on. One of the advantages of this method is that you don’t need to worry about the button sliding around after you have placed it, because the knot marks where the button should go.
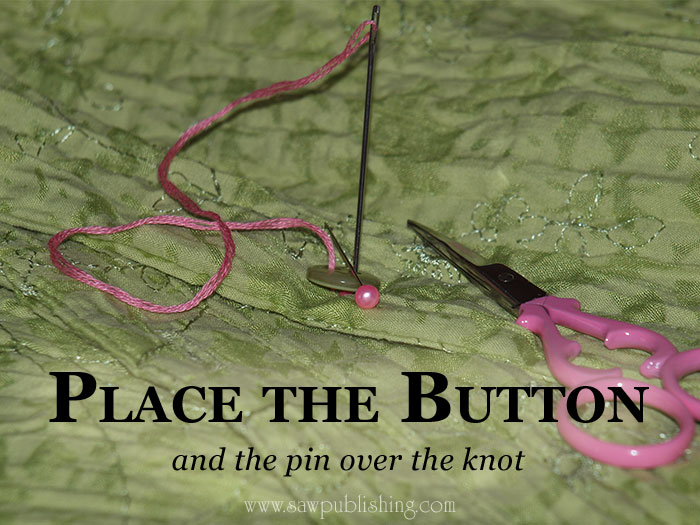
Step Two: Place the Button and the Pin
Put the button on top of the knot.
“Place a large pin across the button to sew over…”
 Step Three: Stitch the Button Over the Pin
Now you stitch on the button, sewing over the pin, and not pulling your stitches too tight.
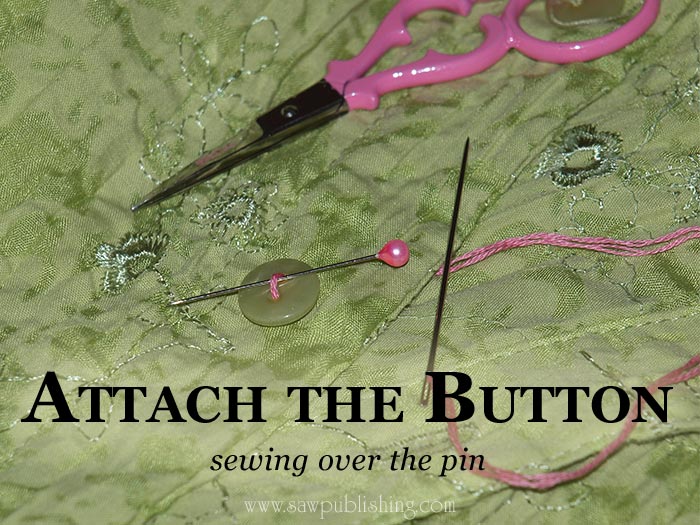 “…draw the thread down loosely until the holes are filled…”
The stitches should be tight enough to keep the pin from sliding around, but not any tighter.
Step Four: Wrap the Thread to Form a Neck
When the button will not conveniently hold any more thread, bring your needle up in between the button and the cloth.
“…remove the pin, wind the thread several times tightly between the button and the cloth to form a shank…”
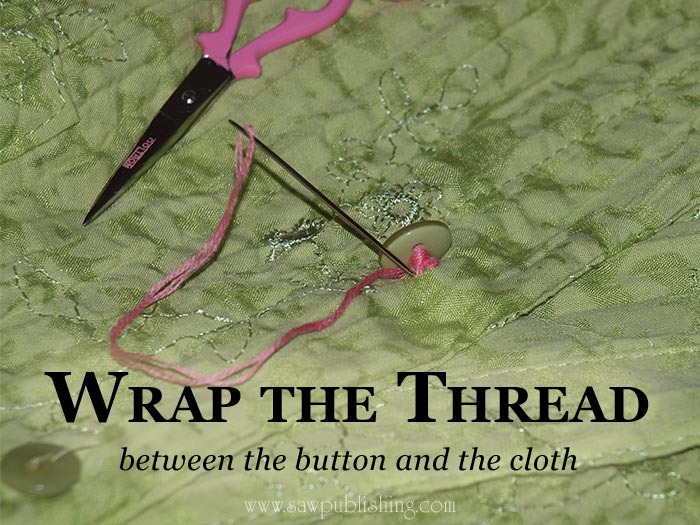 This shank is sometimes called a neck. It holds the button away from the fabric, and lets it sit smoothly after the garment has been buttoned. If you’ve sewed it on right, the button will be able to wiggle back and forth, especially when it’s unbuttoned.
Buttons that wiggle have enough room for the button hole to fit in between the button and the cloth. They button more easily, and they don’t put a constant strain on the thread and the fabric.
If you take a look at the fastenings on a pair of jeans, you will see that the button has a metal neck attached right on to the button, which lets it sit smoothly despite the thickness of the denim fabric.
Step Five: Finishing It Off
Now put the needle through to the back of the cloth, and fasten the thread. (ie. Tie a knot, and cut it.) Now button the garment, and see how it looks.
 There you have it! The tried-and-true method for stitching on a perfect button.
You’re Never Too Old to Learn
Most of us didn’t really “learn” how to sew on a button. It is probably the least taught sewing basic, despite being the one kind of needlework everyone has tried.
But even in sewing buttons there are some easy tricks to take you from an amateur to an expert. And sewing buttons with a pin is one of those tricks.
For some more Timeless Tips from homemakers of the past, take a look at our previous posts:

Timeless Tips #1 Choosing Toys

Timeless Tip #2 Stain Removers

Timeless Tip #3 Safe Stain Removers
Unless otherwise referenced, the quotations in this article were taken from Hand Sewing Lessons: A Graded Course for Schools and for the Home by Sarah Ewell Krolik.
This post has been shared on The Art of Homemaking Mondays linkup.
- Are You Looking For Safe Stain Removers? – Timeless Tip #3
- Homemade Cure for Mosquito Bites – Timeless Tip #5